Autolaser and the rotary unit
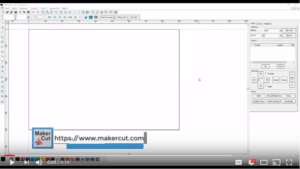
It is not always easy to decipher technical manuals, so we made an instructional video on how to set the parameters needed to use a rotary unit in your laser cutter/engraver with the Autolaser software.
This process only needs to be completed once per machine unless something is replaced or the parameters are erased.
Before you start!
BEFORE you complete the steps in this video you must do/have the following:
– Plugged in the rotary unit to the driver. Make sure you power down your machine before doing this.
– Have some round material of at least 30mm in diameter (larger is better).
– Put masking tape on the material to make measuring the line easier.
– Set the distance to the material mounted in the rotary unit to the head.
This is not an exhaustive list, but should allow completion of the steps in the video.

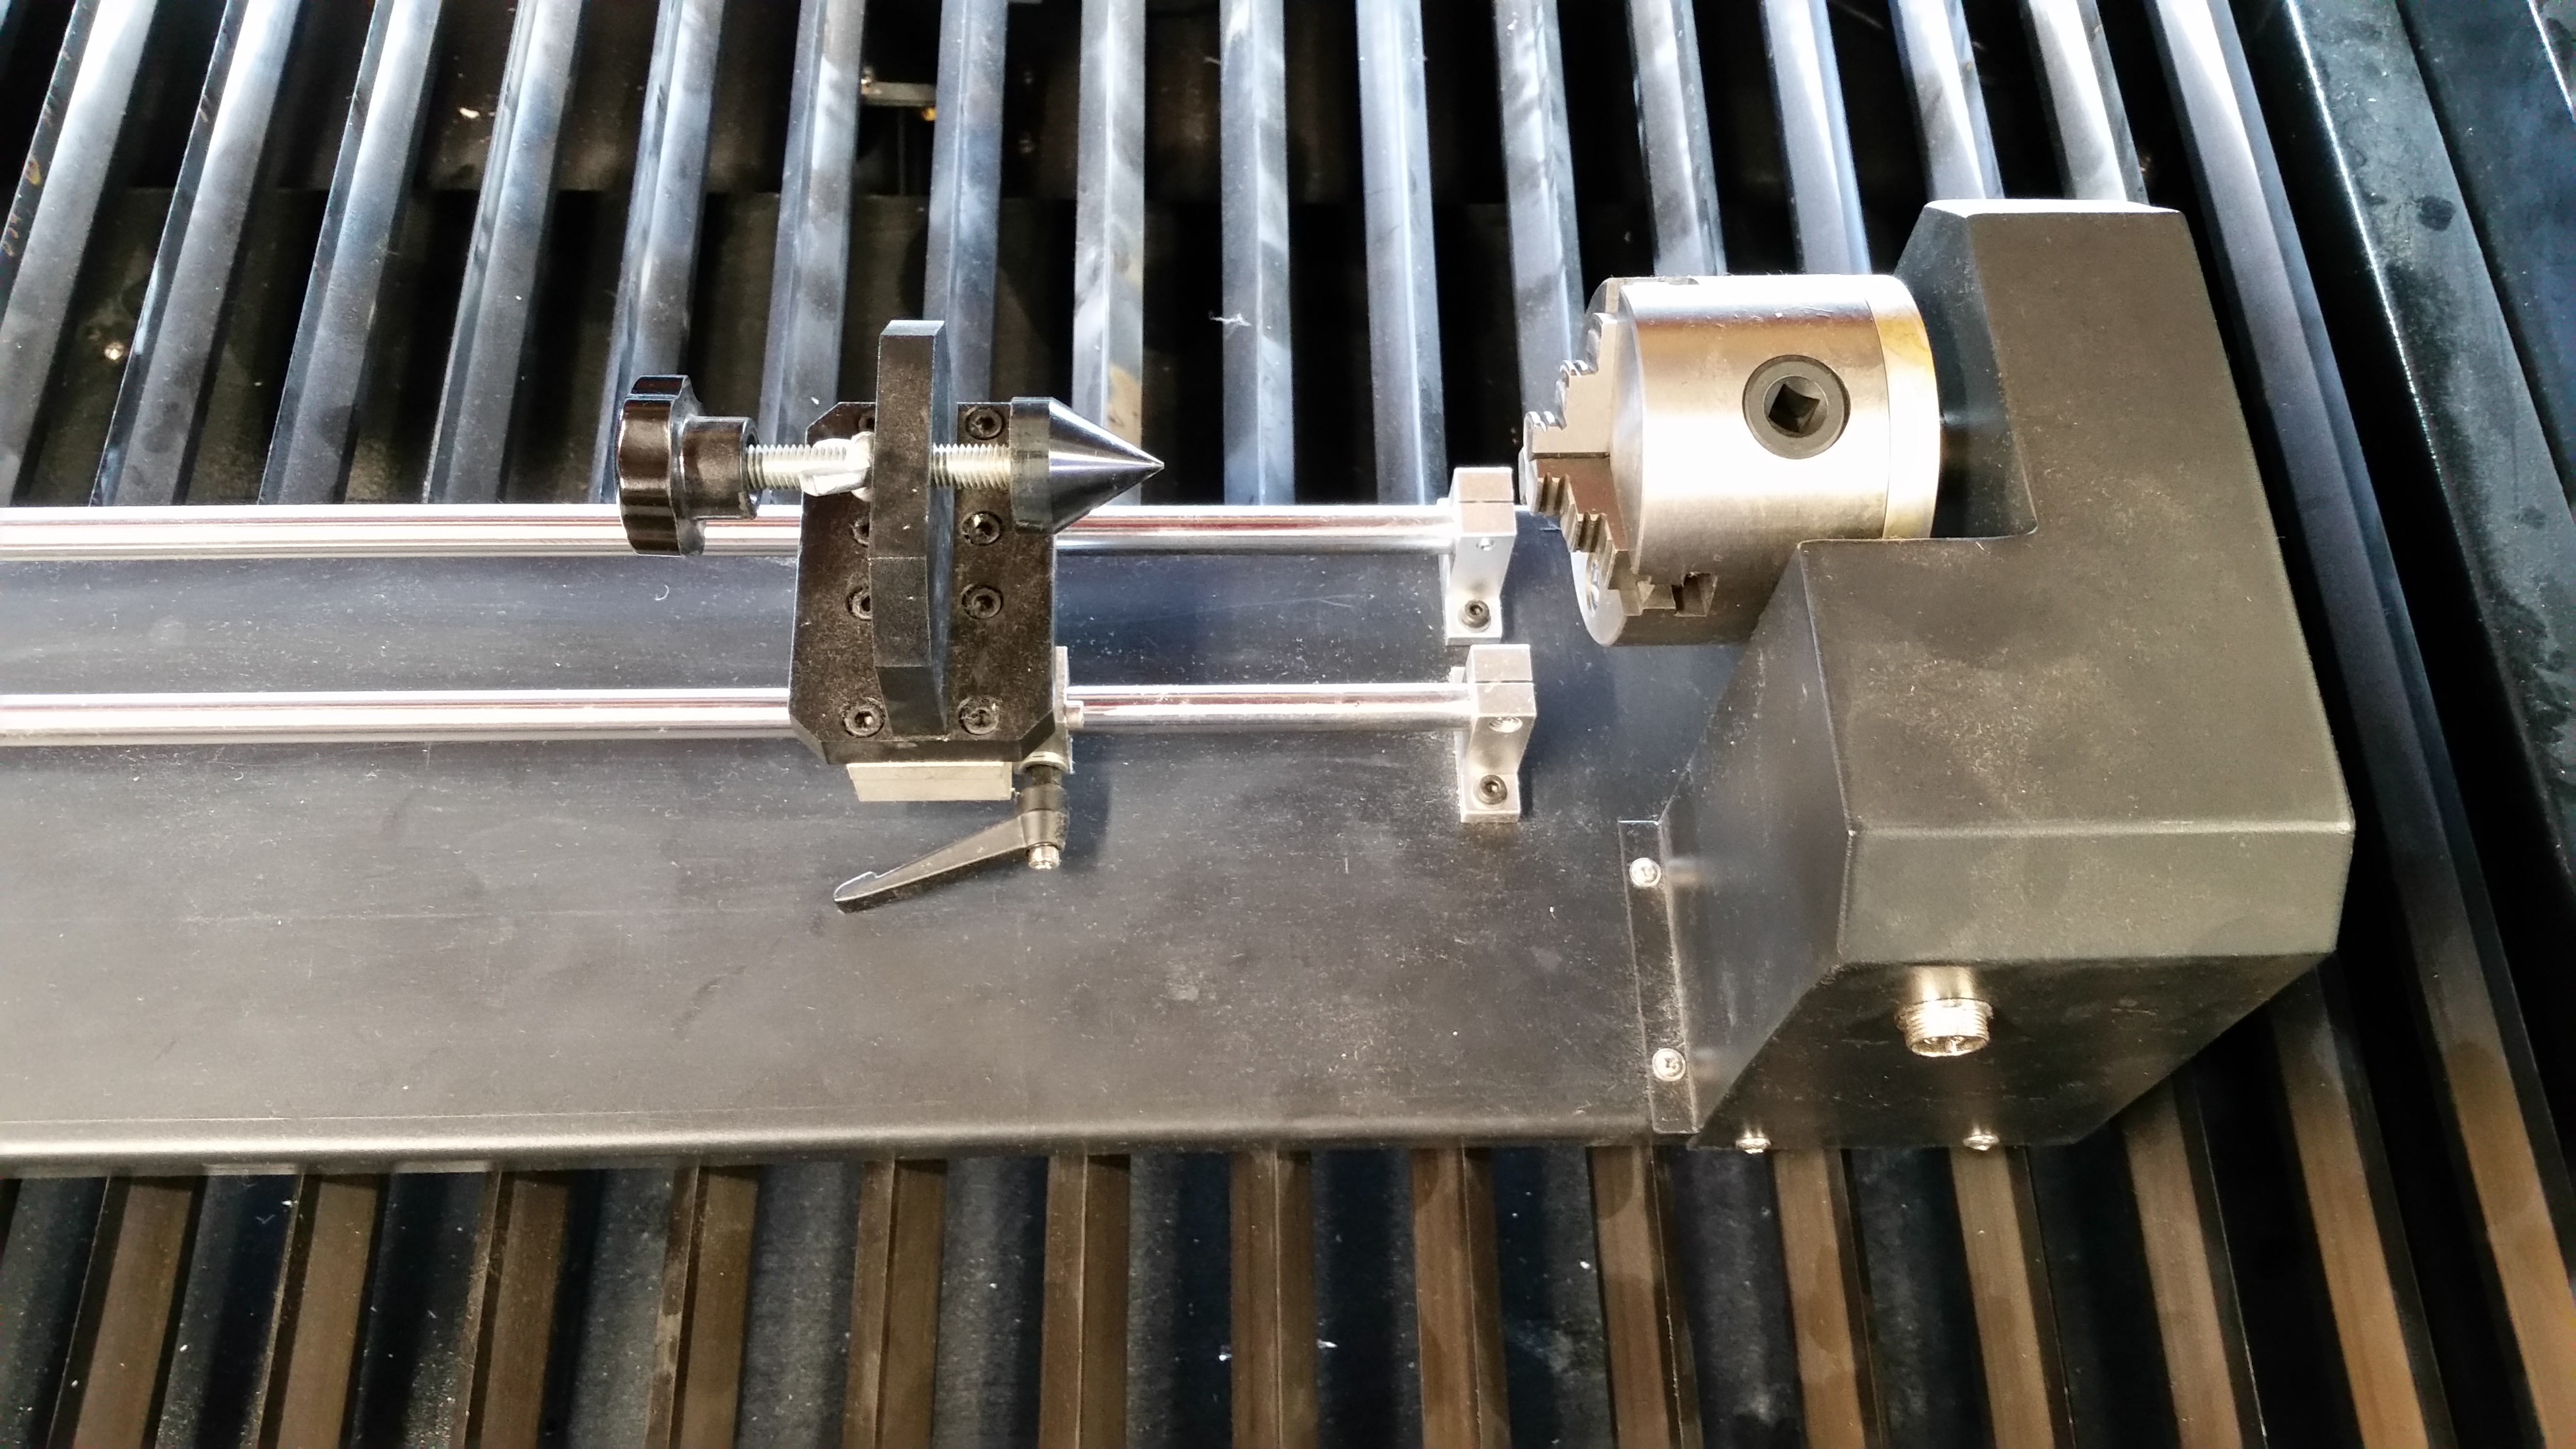
Our rotary unit is a chuck style. it works well but has limitations in the maximum diameter of the material of about 4 inches. Other rotary units do have limits as well but are a bit more flexible. It is not really a problem for us, this unit serves us well.