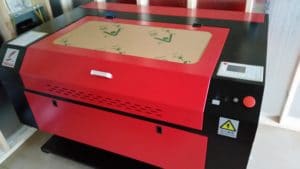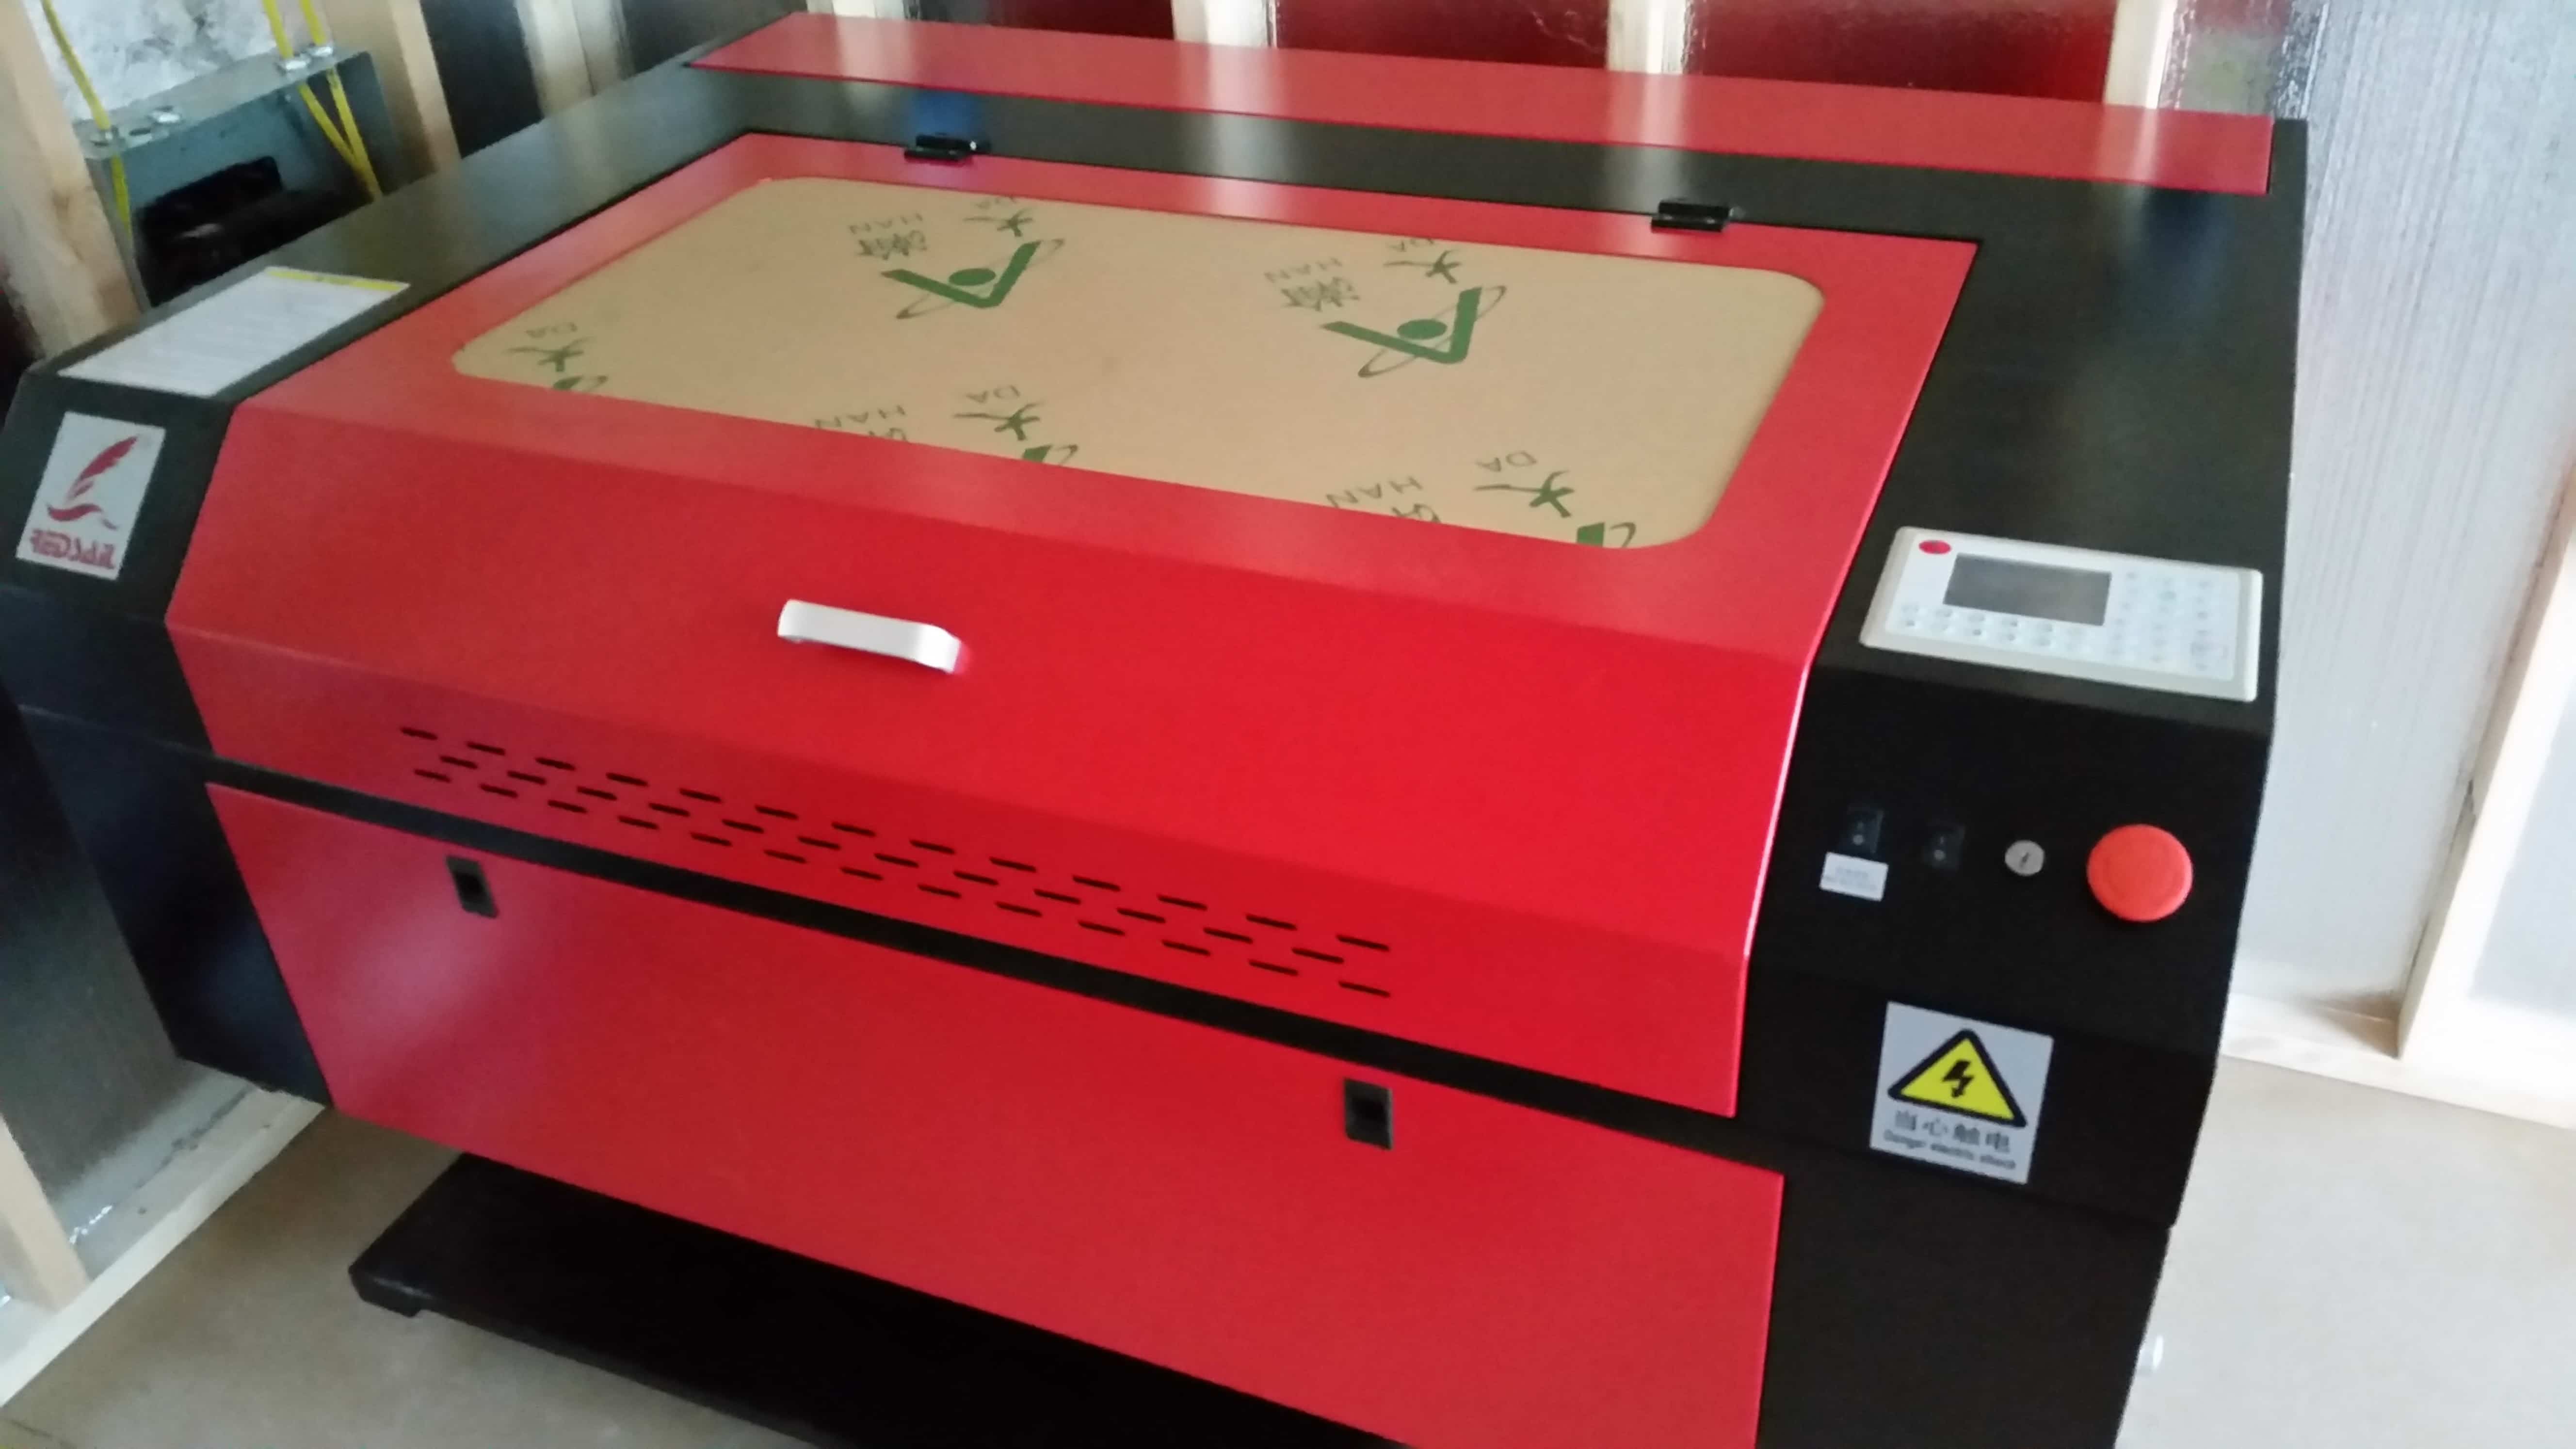
So now that we have that all the shipping mishaps out of the way, the laser is all set up, cooling is ready, ventilation is taken care of (trust me it is important), what happens next?
Testing! Wait what?! Yes, testing. The manufacturers will give you all types of specifications of how the laser should perform, but really each one is a little different. Now is the time to get multiple materials of multiple thicknesses and start testing. Scraps work well if you have access to them, and you can order small batches of smallish materials without breaking the bank (it will add up though). We suggest a trip to the local sign makers and ask if you can have or purchase for a small fee some scraps from them, many will agree since they will be scrapping them anyway. So what to test?
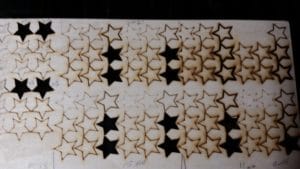
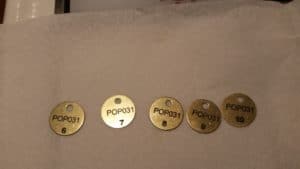
Test how deep a cut will be in each material at different power settings at different speeds, and record all the results. We have sample materials that have multiple settings labeled and run for reference when setting up a new job. Notate results in the corners as well as burning or melting the material can happen when the laser changes direction if the power is too high or the speed too low. This would also be a good time to setup a table that has references to speeds and power for the materials that have been tested for future reference. After some time it will become second nature, but it is always good to have a reference. Keep in mind that while it may say acrylic, it might have a slightly different density or composition that will require adjustments. Always test a sample of the material before jumping in to a job.